If you want to get an early start on growing marigolds this season but don’t have room for a large garden, planting marigold seeds in cups is the perfect solution. Starting marigolds from seed indoors allows you to transplant sturdy seedlings outside once it’s warm enough.
This step-by-step guide will show you how to plant marigold seeds in cups with pictures and care instructions for each stage. Besides, you will learn how deep to plant the seeds, the moisture and light requirements for germination, thinning seedlings, and transplanting hardened-off plants to the garden bed. By following these easy steps, you’ll be rewarded with vibrant marigold blooms all summer and fall long.
Let’s get planting!
How to Plant Marigold Seeds in Cups ( 5 Straightforward Steps)
Materials Needed:
- Marigold seeds
- Peat pots or planting cups/small plastic cups
- Potting mix or seed starting mix
- Water
- Sunny windowsill or grow light setup
Step 1: Choosing Seeds and Seed Starting Mix
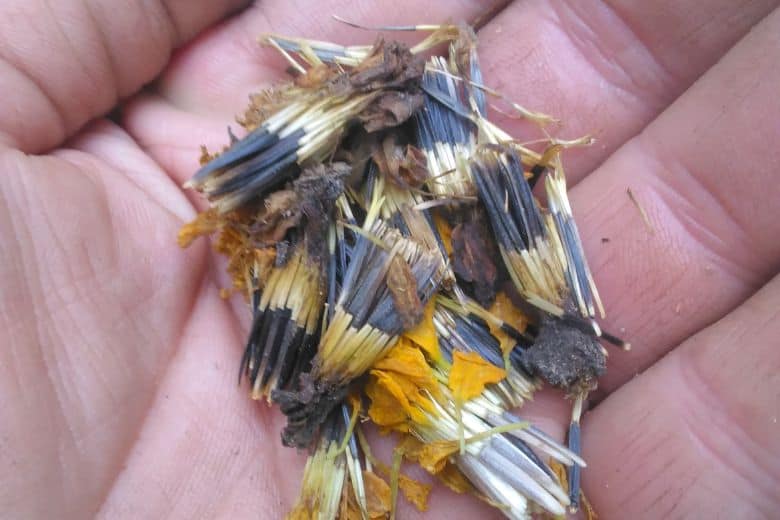
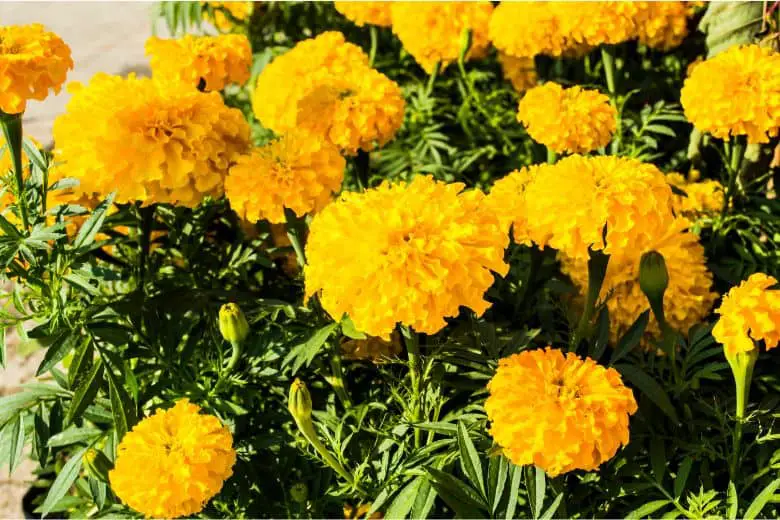
There are many varieties of marigolds available with flowers in shades of yellow, orange, and red. Choose the type you prefer based on color and plant size. Check the seed packet for information on when to plant for your climate zone.
Use a seed starting mix specifically formulated to germinate small seeds. It will retain moisture well and provide good drainage. Peat pots allow the whole cup to be planted directly into the soil once seeds have sprouted.
Step 2: Planting the Seeds
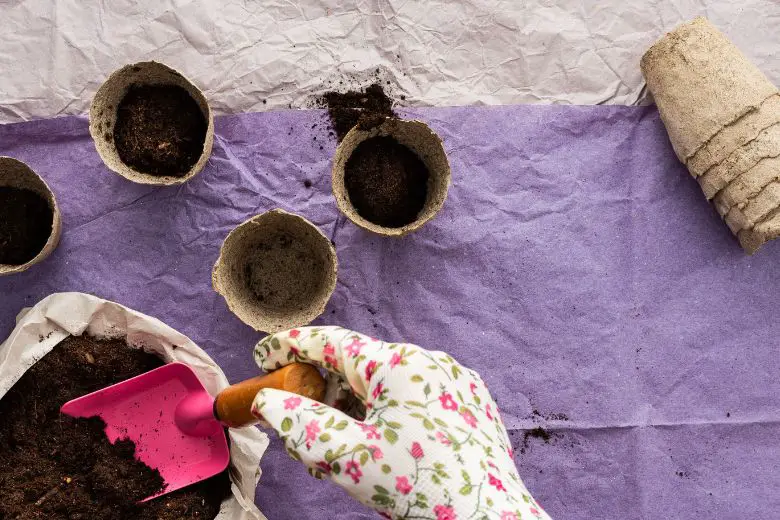
- Fill peat pots or small cups 3/4 full with seed starting mix. Firm it down lightly to remove any air pockets.
- Following instructions on the seed packet, sprinkle seeds evenly over the soil surface. Cover very tiny seeds with a thin layer of vermiculite or extra mix.
- Lightly water the soil so it’s moist but not soaked. Place cups on a tray if using small cups to avoid spills.
- Label each cup or pot with the date and species planted. Keep in a warm spot with indirect sunlight.
Step 3: Germination and Seedling Care
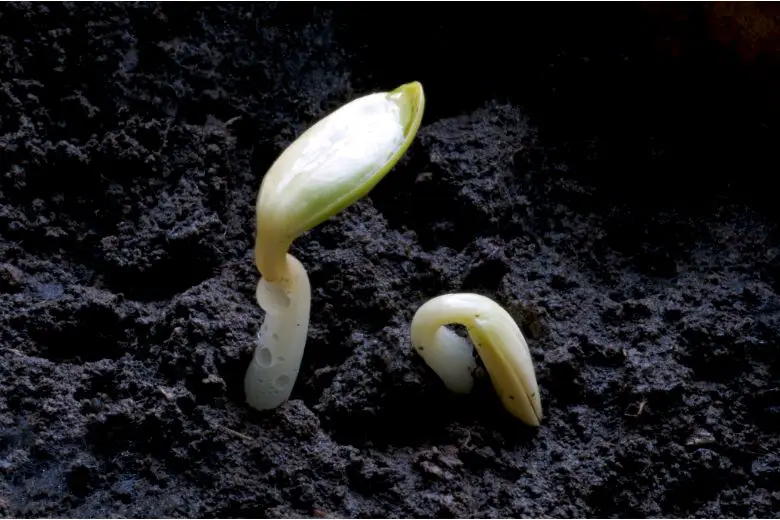
- Keep the soil moist but not soggy. Use a mister bottle to mist the surface as needed lightly.
- Marigold seeds should sprout within 7-14 days, depending on temperature. Check daily for signs of growth.
- Move to a sunny windowsill or under grow lights once sprouted. Provide 14-16 hours of direct light a day.
- Water thoroughly whenever the top inch of soil feels dry. Allow to dry out between waterings partially.
- Clip off extra seedlings in cups once true leaves form on a few seedlings to avoid overcrowding.
- Transplant outside after 4-6 weeks of growth or when night temperatures are above 55°F. Harden off seedlings for a week before moving outdoors.
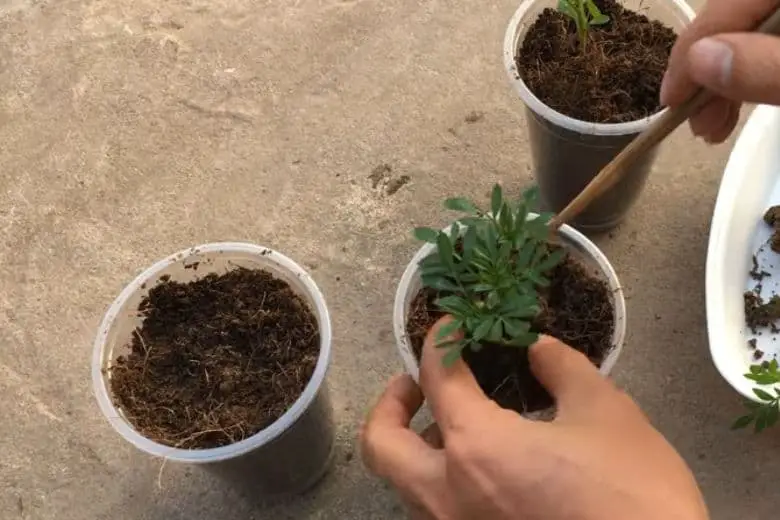
Step 4: Transplanting Seedlings Outdoors

- Choose a spot in full sun with well-draining soil. Work compost or fertilizer into the soil before planting.
- Gently remove seedlings from peat pots or cups, trying not to disturb the roots. Plant at the same depth they were growing.
- Space plants 12-18 inches apart, depending on the variety. Water thoroughly after transplanting.
- Use stakes or cages for support if planting taller varieties that may flop without staking.
- Mulch around plants to retain moisture and suppress weeds. Water during dry spells until established.
Step 5: Ongoing Care
- Fertilize every 4-6 weeks during the growing season with a balanced plant food. Too much nitrogen will produce foliage over flowers.
- Deadhead regularly to encourage reblooming. Cut spent flowers down to the next leaf node or bud.
- Watch for pests and diseases. Common problems include aphids, slugs, and powdery mildew. Remove any damaged foliage.
- Marigolds may self-seed if deadheaded flowers are left on the plant. New plants can be transplanted to fill gaps.
- Cut back plants after first frost to remove damaged foliage and allow for new spring growth.
- Lift and divide overgrown clumps in fall every 2-3 years to maintain vigor.
Troubleshooting and Precautions
Watch out for damping off disease, a fungal issue seen as soft, damp stems at the soil level. It thrives in high moisture and warmth. Improve air circulation and cut back on watering if it occurs.
- Spider mites may cause stippling on leaves. Control them with strong sprays of water.
- Start seedlings indoors 6-8 weeks before the last spring frost date to give them a head start.
- Transplanting too early when soils are cold can stunt or kill tender seedlings.
- Pinch off faded summer marigold blooms to encourage repeated flowering through fall.
Conclusion
Planting marigold seeds in cups is a great way to start a new garden! By following these steps, you’ll be able to successfully grow marigolds from seed indoors before transplanting them outside to enjoy their colorful blooms all season long. The plants are low maintenance and hardy, providing a vibrant pop of color to any garden bed or container.